Wednesday, January 22, 2014

Birthday Balloon Poke Cupcakes


Can you believe that January is almost over already? This year is already flying by.  My best friend's birthday is the week, but we celebrated last weekend.  We had a huge group of people celebrating her birthday with us.  I wanted to make something really special which would show her how much I appreciate her friendship. I decided to make poke cupcakes. Vanilla cupcakes with raspberry Jello flowing through them.  My friend is not an adventuresome eater so this was perfect for her because she liked both of these flavors. 

These are delicious and moist, but do take a bit of time.  Make sure you have set aside 4 hours for these babies. 

WARNING: Everyone will love them so much you won't have any to take home for yourself!

What you need:
White cake mix
1 1/4 cup water
1/3 cup oil
4 Egg whites
1 cup boiling water
Raspberry flavor gelatin (.3 oz)
Stick of butter ( 1/2 cup)
Cream cheese (8 oz)
3 Cups powdered sugar
1 Container Cool Whip (thawed)
Dum Dum suckers
Ribbon
Sprinkles of your choice

How to make:
Preheat oven: 350     Bake: 19-22 minutes

1. Combine Cake mix, water, oil, and egg whites. Fill cupcake tins with batter 3/4th full. Place in oven and cook 19 minutes. 


2. Let cupcakes cool for 5 or 10 minutes. Meanwhile add boiling water to the Jello and stir for two minutes until completely smooth.  Poke holes in the cupcakes with a small fork.  Spoon Jello mixture over cupcakes slowly so they can absorb the Jello down into the poked holes.  

Tip: Take cupcakes out of tin after you are finished putting the Jello in them.  The bottoms will sometimes have Jello on it from spilling or overflowing. This way you can clean it off with a paper towel so it won't be messy for guests as they eat the cupcake


3. Let cool in refrigerator for at least 2 hours. (You can leave them in there overnight if you have extra time in your schedule)

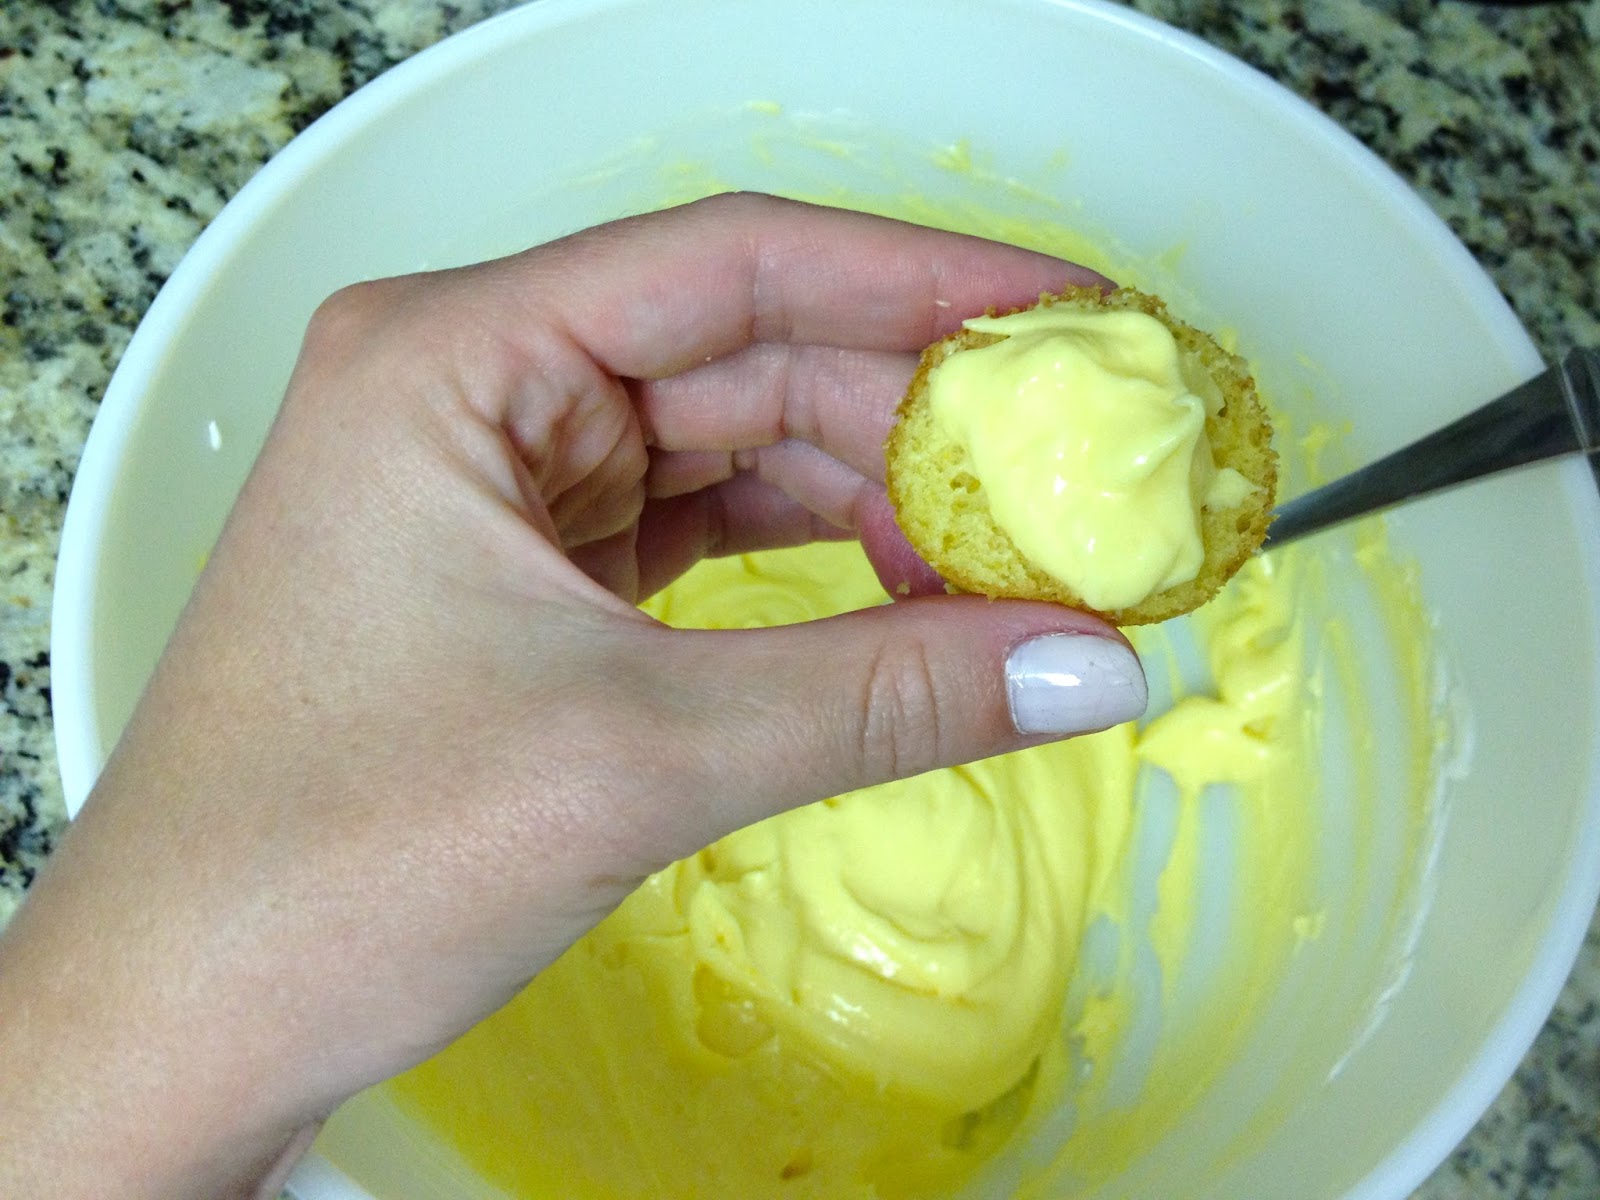
4. Combine softened cream cheese and butter with mixer.  Slowly add in three cups of powdered sugar until completely smooth.  Fold in the Cool Whip until completely combined. Put in a piping bag or frost with a knife onto cupcake. 


5. Put enough frosting on the cupcake to even it flat across the top. Take the piping bag and pipe a round medium dollop of frosting. 
(Just place the tip at the center of the cupcake on top of flat icing and push the icing out of the bag, nothing fancy required) 


6. Cover dollop of frosting with sprinkles to completely cover that part of the frosting.  Add three Dum Dums of different colors and add a ribbon tied into a bow to the front sucker for extra wow factor. 

These are a labor of love but they sure are cute!  Everyone will gasp over these lovely cupcakes not only for their looks but also for their taste. 

Enjoy!


Monday, January 6, 2014

Coconut, Oat, Chocolate Chip Cookies

Hey there,

I am still in a sugar coma from all the sugar consumed over the holidays.  I have been baking, eating and laughing from all the family gatherings.  I hope you all had a wonderful holiday season. I was home for two weeks over Christmas and loved every minute of it.  I tried many new recipes that I am excited to share with you.

This cookie is my family's new favorite.  You will love this moist delicious cookie!!!

What You Need:

·  1cup butter, softened
·  1 cup brown sugar 
·  1/2 cup sugar 
·  2 eggs
·  1 teaspoon vanilla
·  1 1/2 cups flour
·  1 teaspoon baking soda 
·  1 teaspoon cinnamon
·  1/2 teaspoon salt
·   2 1/2 cups Old-Fashioned Quaker oats uncooked
·  1 1/2 cups coconut
·  1 cup chocolate chips

Temp: 350    Bake: 11 Minutes

1. Beat together sugars and butter

2. Add the eggs and vanilla and beat until creamy

3. Add combined flour, baking soda, cinnamon and salt: mix until fully combined


4. Add in oats

5. Stir in coconut and chocolate chips

6. Drop tablespoon size dough on ungreased cookie sheet 
    (Larger if you want to get crazy)

7. Bake 10-12 minutes


These magical cookies stay so moist from the oatmeal and coconut.  I couldn't help myself..I had to put chocolate in this cookie. More Sugar is never a bad idea in my opinion!! 
Yes...I am addicted.


Friday, September 13, 2013

Mini Boston Cream Pies


Hey There! 

I have had a busy few weeks and finally found time to bake which relieves my stress.  Isn't it funny how something so simple can calm you down?  I am very excited to see my family soon so I decided to make mini Boston cream pies in honor of my brother.  He absolutely loves them and I made them mini so they are easier to eat.  Also, it makes me feel like I can eat more if they are mini...

These little suckers are very light tasting and I haven't found one person who said no to eating the entire pan.

What you need: 
1 pkg yellow cake mix
(3 Eggs, 1 cup water, 1/3 cup vegetable oil)

1 pkg Jello Vanilla Instant Pudding (3.4 oz.)

1 cup cold milk

1 pkg Whipped topping(COOL WHIP)

Semi Sweet chocolate (4 oz.)


How to Make it:
1. Preheat oven to 350 degrees. Mix cake as instructed on the back of box. Grease mini cupcake pan and fill with batter 3/4th full. Bake for 13-14 minutes.  


2. Let cupcakes cool completely.  While waiting for the cupcakes to cool whisk pudding and milk together for 2 minutes.  Let pudding sit for 5 minutes. Whisk 1/2 cup of whipped topping into the pudding


3. Use a serrated knife and cut the mini cupcakes horizontal. Spoon a teaspoon or however much you would like onto the bottom halves of the cupcake and cover the mixture with the top of cupcake. 


4. Melt chocolate and 1 cup of whipped topping in a microwavable bowl for 1 minute or until almost melted.  Take mixture out of microwave and stir until completely melted together.  Let this mixture stand for 10-15 minutes to thicken up. Put the ganache on top of cupcakes using a spoon.
(I went in a circular motion for a uniform and clean look)
(Refrigerate cupcakes until ready to serve)


5. Lick the bowl clean!! The best part of baking*


(Original recipe from Kraft Foods)


Monday, August 12, 2013

Reesesdoodle


Hey There,
 I hope everyone has been enjoying summer and all the barbecues that come
along with that.  I have a very short and easy recipe for you to make when
you have a large group of people or many events in a row to attend. It makes
it less stressful if  you don't want to be baking everyday to take an item
to each carry in.  This recipe is so simple and you can switch it up however
you would like. 

What You Need:
Peanut Butter cookie dough or mix
Oil
Egg
Reese's Peanut Butter Cups (Miniature)


How to Make it:
1. Mix together the cookie package, oil and an egg (as directed on the back
of the package).

2. Roll cookie dough into a small ball and place into a greased mini cupcake
pan. Pat down the top of the ball to flatten out the cookie dough. The ball
should cover 3/4th of the mini cupcake opening. Bake for ten minutes at 350
degrees. While baking the cookies unwrap the Reese's candies. By the time
you unwrap them, all the cookies will be ready.


3. Pull cookies out of oven and immediately place the Reese's in the center
of the cookie and push down so the top the Reese's matches up with the top
of the cookie. (Be aware they will melt very fast)


4. Leave the cookies in the pan until completely cooled 


TIP: Put the pan of cookies in the refrigerator for an hour and they will be ready to be eat.

Remember these are delicious so be ready for people to just pop them in
their mouth! Save some for yourself! 

Monday, July 8, 2013

Triple Chocomallow Brownies


Hey There,

I hope everyone had an amazing Fourth of July weekend. I had a fun filled girls weekend with a lot of food and chocolate!  I was asked to make something chocolate and so I decided on my famous brownies, which are a girls best friend.  

To be honest, I don't like to make these brownies anymore because I have made them at least 100 times. We all have those recipes that we are asked to make a lot and this one is mine.  I make it to show my love to my friends and family when they ask for it.  

This recipe is very simple and takes no time at all.  You will not only impress your guests, but also yourself! 

What You Need:

1 box Chocolate Chunk brownie mix
¼ Cup vegetable oil
¼ Cup water
1 Egg
1 to 1 ½  cup Marshmallow Fluff
1 ¾ Cup semi-sweet chocolate chips
½ Cup premier white chocolate chips

Directions:
1. Heat oven to 350 F. Prepare brownies as instructed on the box. Pour batter into a greased 9x9 pan. Bake for 20-25 minutes. When finished, let cool completely.


2. Using a table knife, spread marshmallow fluff over cooled brownies evenly.

3. Place semi-sweet chocolate chips in microwave for 30 seconds. Remove chips and stir. Place chocolate back in microwave for another 30 seconds, or until smooth. Once smooth, pour melted chocolate over the layer of marshmallow fluff. Spread evenly.

4. Melt white chocolate chips in microwave for approximately 30 seconds. Remove chips and stir. If not smooth, place chocolate back into microwave until fully melted. Using a spoon, lightly drizzle white chocolate into 10 to 15 horizontal rows. To create the marbleized effect, lightly drag the tip of a knife vertically across the white chocolate 10 to 15 times alternating directions.


5. Place pan into refrigerator for 30 minutes. Remove pan and cut brownies into 16 pieces. Place the pan back into the refrigerator for an additional 20 minutes or until ready to serve. Remove pan 5-10 minutes prior to serving.


Tip* Keep brownies refrigerated to keep the marshmallow fluff and chocolate from melting.


Tuesday, April 23, 2013

Chocolate Strawberry Whoopie Pies


Hey all!

Sorry I have been MIA lately.  I have had guests every other week and my life has been so crazy.  It is slowing down now and I am looking forward to catching everyone up on my cooking and life.  I just had my parents out to visit me and decided to make them a welcoming dessert for when they arrived from the airport.  I really think this is a nice touch for visitors because it lets them know you cared enough to welcome them after a long day of traveling. 

I decided to make Chocolate Strawberry Whoopie Pies.  Something about chocolate and berries together that I just can't get enough of!! This is extremely easy, but a little time consuming! Set aside two hours for these pies.

 
What You Need:
Chocolate cake mix
3 Eggs
1/2 Cup Oil
3/4 Cup Water
1 Cup Powdered Sugar
8 oz Cream Cheese
Cool Whip
Fresh Strawberries (Sliced)


How To Make It:

1. Heat Oven 350. 
 Beat together cake mix, eggs, oil and water until smooth.  Drop a tablespoon (or two depending on desired size) of batter on  a greased cookie sheet. Bake 8-10 minutes and let cool on cookie sheet for 3 minutes before removing.  
TIP: These will spread out a lot in the oven so be mindful when filling up the cookie sheet with batter

2. Beat Cream Cheese, powdered sugar together until well combined.  Fold in the entire container of Cool Whip.  

3. Once cookies completely cool, take two cookies and place the icing on bottom of both cookies. Place sliced strawberries on the iced cookie however you please then top with second iced cookie to make a sandwich. Keep in the refrigerator to keep fresh! 


* The icing is also like a glue to hold it all together.  I only used a very little amount of icing on the top cookie. 
*Remember to leave room around the edges so the icing won't drip.